Nothing is worse than a warm drink on a hot summer day, but how can you keep your beverages cold when the ice melts? How to make ice blocks for coolers?
Coolers are usually designed with an insulating layer at the bottom and sides to help maintain optimal temperatures inside. However, this insulation does not extend up to the top of the cooler, where you put drinks or food to keep them fresh.
This means that every time there is a temperature change (for example, when it goes from humid outside into an air-conditioned house), water droplets will condense on whatever is stored at the top of your cooler and then drip down onto whatever else you have packed away below.
So how can you prevent this from happening?
The answer is to make ice blocks that are designed specifically for coolers.
Why is Block Ice so Popular?
Block ice lasts longer than ice cubes in the freezer and cooler, making it an excellent option for food storage.
Block ice melts slower, too.
This means that the water droplets will not have enough time to drip down into your cooler and onto all of your other food items before they start to freeze again.
The only downside is how much space block ice takes up in a freezer or cooler because it’s typically used for longer. So if you want something smaller and more convenient, try cooling packs instead.
Are Ice Blocks Better Option?
Blocks of ice will give you a longer-lasting form of cold than crushed ice. The only downside is how much space block ice takes up in your freezer or cooler because it’s typically used for longer periods. If you want something smaller and more convenient, try cooling packs instead.
Making Convenient Ice Blocks for Coolers
If this doesn’t matter to you, though, then you should be happy to know how easy it is to make your ice blocks for coolers. All you need are:
Video Credit: raWr Fishing
Method 1 – a bag of water, a Ziploc sealable container, and freezer space
Keep the sealed bag the desired size, away from other things that could cause leaks or punctures, and freeze overnight. Once frozen, open the bag carefully to avoid breaking any pieces, and place them in your cooler or bucket without liquid leaking out. You can also fill up buckets with this before freezing them if they will fit better there. If you have an ice maker on hand already, use those cubes instead!
Method 2 – a tray, freezer space, and ice packs
If you’re more of an outdoors type of person who camps or plain likes to enjoy the summertime, then you’ll be happy to know how easy it is to make ice blocks for coolers. You need:
A tray with edges that are at least one inch high (think Tupperware-style) Enough water to cover all spaces in your container A sealed bag from which liquid cannot leak into other areas inside the cooler The largest size Ziploc sealable containers available A slotted spoon or similar utensil made out of plastic. Hence, as not break through any metal pieces in the container, An outdoor refrigerator like those found on camping trips!
Method 3 – Pouches of ice and water
If you’re more of an outdoors type of person who camps or plain likes to enjoy the summertime, then you’ll be happy to know how easy it is to make ice blocks for coolers. You need: A tray with edges that are at least one inch high (think Tupperware-style) Enough water to cover all spaces in your container A sealed bag from which liquid cannot leak into other areas inside the cooler The largest size Ziploc sealable containers available A slotted spoon or similar utensil made out of plastic. Hence, as not break through any metal pieces in the container, An outdoor refrigerator like those found on camping trips!
Method 4 – DIY freezer space
A freezer space- or part of one if your entire freezer isn’t available. (Or a friend with a spare cube) Transparent plastic sheets that come in multiple sizes and can be purchased on Amazon Plastic wrap from the grocery store Heavy-duty aluminum foil -or- metal baking pans Scissors
Wrap all tray surfaces with clear plastic sheeting, and then cover with heavy-duty aluminum foil. Please place it in the freezer until frozen solid. This process takes about 24 hours, but no worries, as long as there’s room left inside your freezer when you’re done. You may want to plan to ensure enough space for a tray.
Method 5 – Wrap and freeze in plastic wrap
Put an ice cube mold on some heavy-duty aluminum foil (or parchment paper). Cut two pieces of plastic wrap, one about three times the size as the other. Place the smaller piece over your cubes or blocks, then place the larger piece over that. Use more if necessary to create extra padding to conform better when frozen solid.
Make holes through both layers with scissors before freezing to let out moisture while they’re still soft from being wrapped up too tight- this prevents them from bursting open once they’ve been thawed, and you want to use them right away! Check how long these take by considering how long you usually leave your freezer door open.
Method 6 – Freeze in a Tupperware container with ice packs on top and bottom
Fill an old or new Tupperware container with water to the brim, then place it in the freezer. Next, take two large ice cubes (or four small ones) and put them at either end of this tray-shaped body you’ve just created for your iced blocks. Then take some more miniature cold packs, and lay them over these big frozen cubes of water so they’ll stay colder longer than if they were left uncovered by any insulation material; popsicle sticks work well too! You can also use zip-lock bags filled with crushed ice chunks as long as there’s plenty of room for air circulation around the bag.
Method 7 – Freeze in a can with an intact bottom
Buy some soda cans; clear, plastic ones work well because you can see how much ice accumulates at the bottom of your iced block-to-be! Fill up these empty cans to the brim and put them in the freezer for about six hours or so. Then, take out one of these frozen sodas when it’s time to make your cooled drink blocks–you’ll know they’re ready if there are about two inches worth of ice cubes sitting on top and around the sides.
Tilt upside down over a bowl (or a bucket) full of water prechilled by running cold tap water through it until all those ice cubes fall right out into the waiting receptacle.
These frozen blocks will keep your drinks cold for hours–make sure to layer them with freezer-friendly containers, so they don’t melt and overflow all over everything!
Method 8 – Fill a kiddie pool with water, add ice and salt
If you happen to have access to an old plastic kiddie pool (or any other large container), then consider this how-to on how to make iced blocks for coolers: fill it up about three-quarters of the way, complete with water that has been prechilled by running cold tap water through it until it’s nice and icy cold; toss in some as much table salt or kosher salt as you please–at least a cup, but how much salt you use is up to your personal preference; and then add ice cubes until the water reaches about an inch below the top of the pool.
The next step? Please sit back and watch as these icy blocks magically make themselves in front of your eyes!
Method 9 – Pour boiling water over a tray with sugar on it
If you’re looking for how to make iced blocks for coolers that will stay cold longer than using just plain old snow or ice cubes, the hot liquid can help achieve this goal–be sure not to pour too many liquids into one cooler since they’ll tend to dilute each other. As long as you don’t put any drinks near where steam from recently-poured boiling water might touch them, and you have a tight-fitting lid to minimize how much vapor escapes, this method is just as good for keeping your drinks cold.
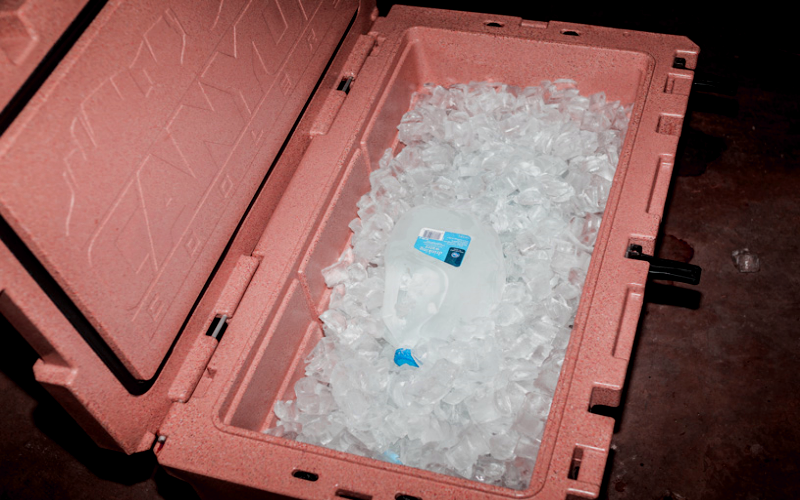
Method 10 – Freeze water in old soda bottles
Frozen cubes are great–provided they’re not melting because of how long it takes them to freeze naturally on their own if you want how to make ice blocks for coolers that will last longer than three hours in the sun, use an easy time-tested trick by freezing water inside old plastic soda bottles!
The best part about using these rubberized containers? If necessary, stack more of them up without worrying about damaging any other surface or object under where they’ll be sitting (such as when stacking upside down).
Method 11 – DIY freezer space and bags of frozen fruit juice
This how-to make ice blocks for the coolers process is a little more time-intensive than many others, but it’s worth it. Start by filling freezer space with bags of frozen fruit juice–this will work as you how to make ice blocks for coolers’ water source. Once you have at least four or five layers going, pour in some salt so that there are about three tablespoons per gallon (or just over one tablespoon per quart) and then fill up any remaining gaps before freezing everything together!
Method 12 – Freeze beer bottles
If making ice blocks for coolers want something unique that’ll serve both purposes simultaneously, try freezing old beer bottles filled with water instead. You can also take this idea further by making ice blocks for coolers using how-to make ice blocks for cooler’s rings or ice blocks for coolers’ caps filled with water and then frozen.
Conclusion
If you’ve read through this article, we hope it has helped clear up any confusion or uncertainty about making ice blocks for coolers. Now that you know all the different methods, which one will you try? Have fun cooling off with your new knowledge!